How to Connect Figma to Claude AI: Complete Integration Guide (2026)
Learn how to connect Figma to Claude AI in 2026 with this step-by-step tutorial covering account setup, connector configuration, and plan requirements.
This page may contain affiliate links. We may earn a commission at no extra cost to you. Full disclosure.
Introduction
Connecting Figma to Claude AI unlocks a powerful workflow for design teams, product managers, and developers. The official connector integration enables Claude to securely access your Figma design files, streamlining design reviews, generating documentation, and iterating on visual work with AI assistance. This guide walks through every step—from accessing Claude to configuring the connector and understanding plan requirements—using the 2025-2026 Claude interface.
- 01Navigate to claude.ai and sign in to your account
- 02Open **Settings** from your profile icon in the lower left corner
- 03Locate and click on **Connectors** in the settings sidebar
- 04Click **Browse Connectors** and search for "Figma"
- 05Click the Figma connector result and review the permissions details
- 06Click **Connect**, **Authorize**, or **Link Account** and complete the Figma login and authorization flow
- 07Return to Claude and test the integration by asking Claude to reference a Figma file
Navigate to the Claude AI Platform
Access the official Claude platform through your web browser to begin the integration process.
Click the official Claude.
This initial navigation, covered in the first 40 seconds of the video [0:00], ensures you're working with the authentic Claude platform.
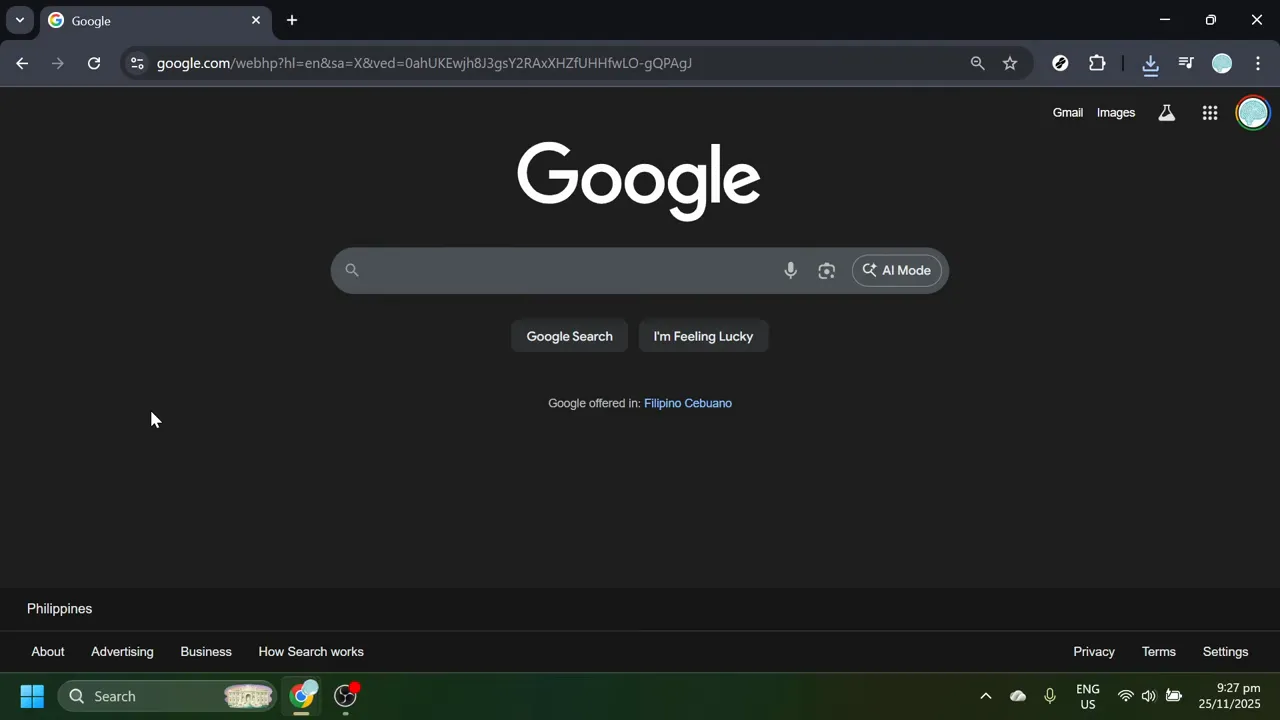
Access the official Claude platform through your web browser to begin the integration process. Open your browser and search for "Claude AI" or "Claude.ai" to locate the legitimate Claude.ai website. Verify the URL in your address bar displays "claude.ai" to confirm you're on the official site and avoid phishing attempts.
Click the official Claude.ai link in the search results. You may be prompted to sign in if you haven't authenticated yet. Create a Claude account if you don't have one before proceeding with the Figma integration.
This initial navigation, covered in the first 40 seconds of the video 0:00, ensures you're working with the authentic Claude platform.
Access Your Claude Account Settings
Once Claude loads in your browser, locate your profile icon in the lower left corner of the main chat interface.
The Settings section centralizes all account preferences, security options, and third-party integrations.
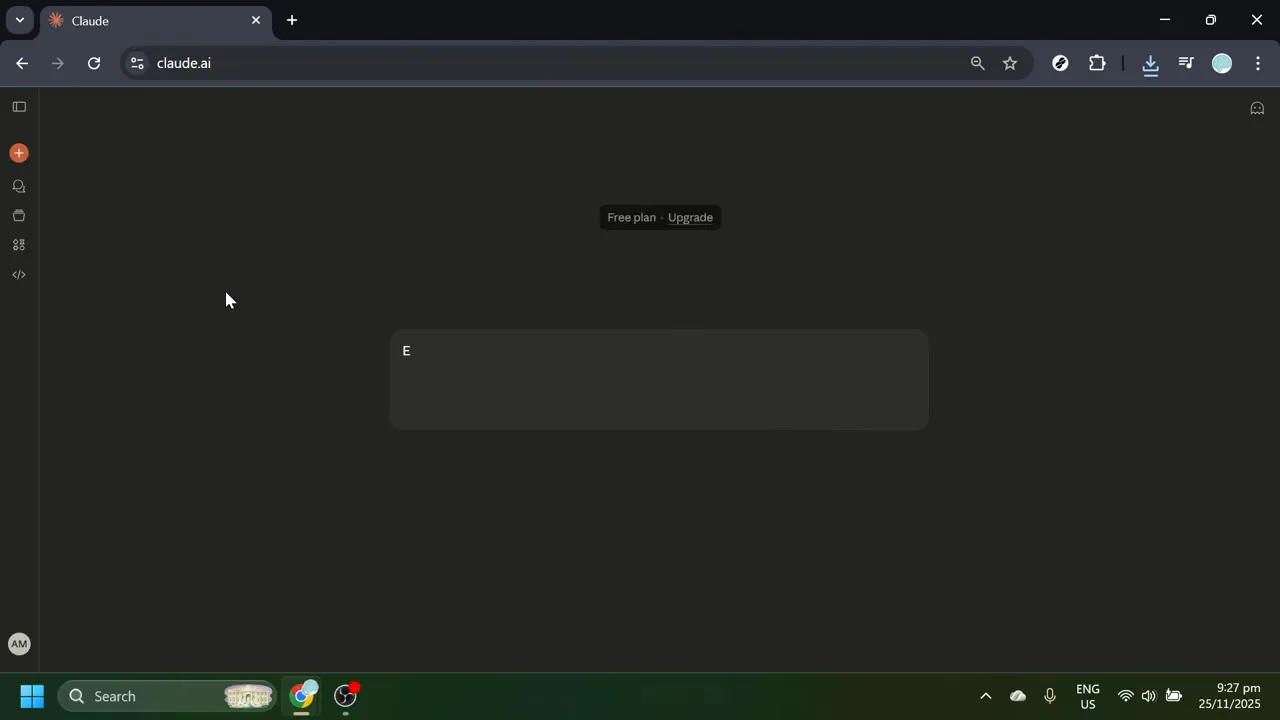
Once Claude loads in your browser, locate your profile icon in the lower left corner of the main chat interface. Your profile area typically appears as your avatar, profile picture, or initials in a circular icon. Click on your profile icon to open the account menu and select Settings.
The Settings section centralizes all account preferences, security options, and third-party integrations. This is where you'll configure external tool connections like Figma. This step corresponds to the 40-second to 1-minute-7-second portion of the video [0:40–1:07].
Locate the Connectors Section
Within Settings, you'll find several configuration categories for managing different aspects of your account.
Connectors operate within defined permission boundaries and undergo an approval process to maintain privacy and security controls.
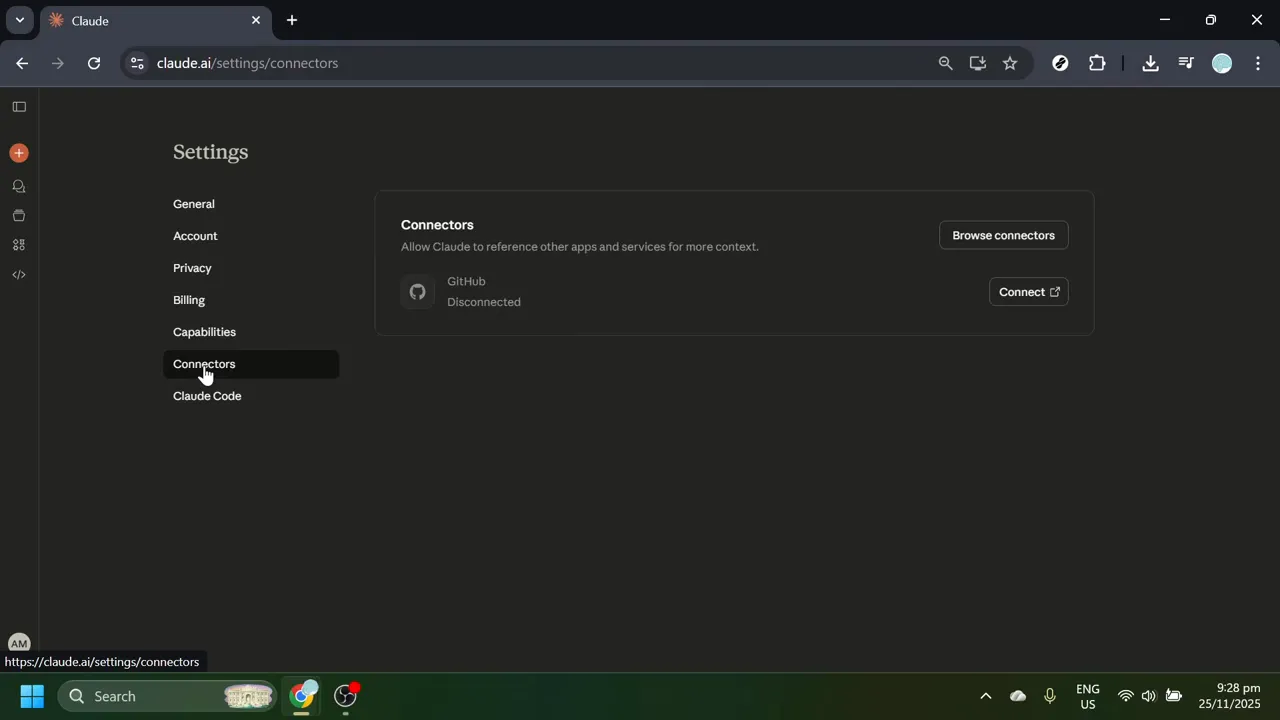
Once inside Connectors, look for a button or link labeled Browse Connectors or Add Connector to view the full gallery of available integrations.
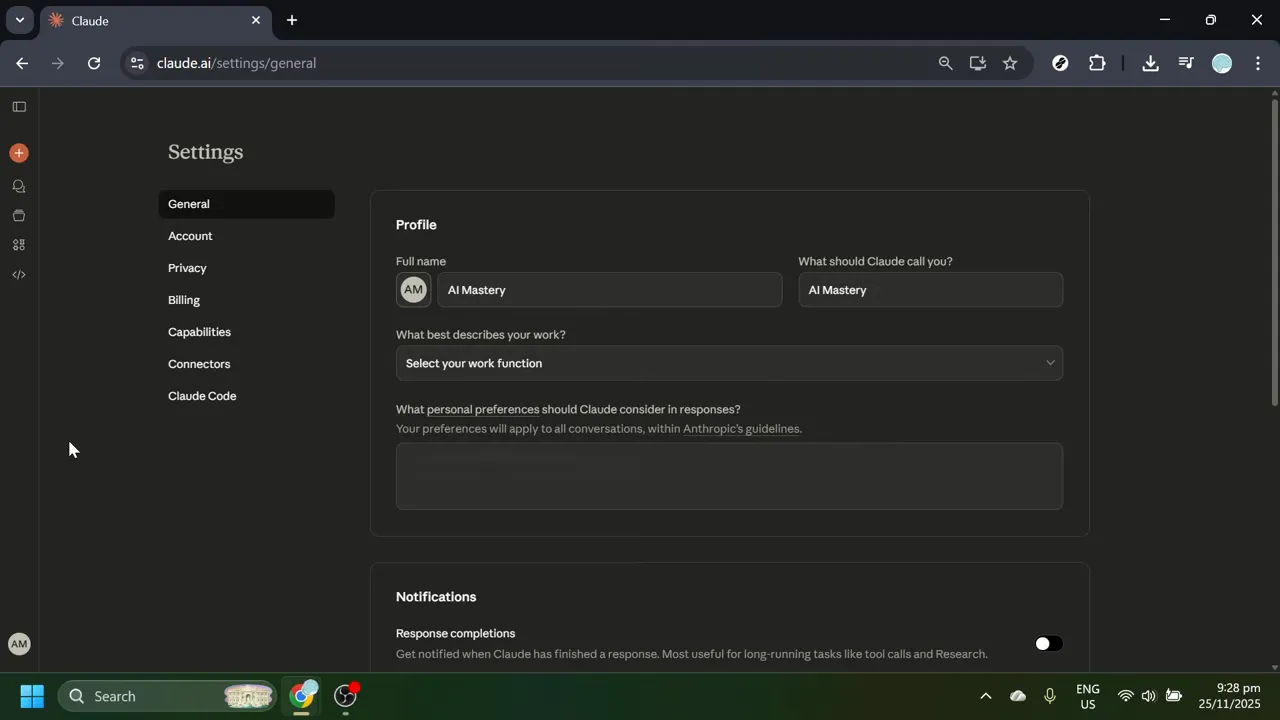
Within Settings, you'll find several configuration categories for managing different aspects of your account. Scan the settings sidebar or main settings page to locate the Connectors section, which represents Claude's secure integration framework for approved third-party services.
Connectors operate within defined permission boundaries and undergo an approval process to maintain privacy and security controls. Click on Connectors to access the integration management area.
Once inside Connectors, look for a button or link labeled Browse Connectors or Add Connector to view the full gallery of available integrations. This functionality is demonstrated between 1:08 and 1:20 in the video [1:08–1:20].
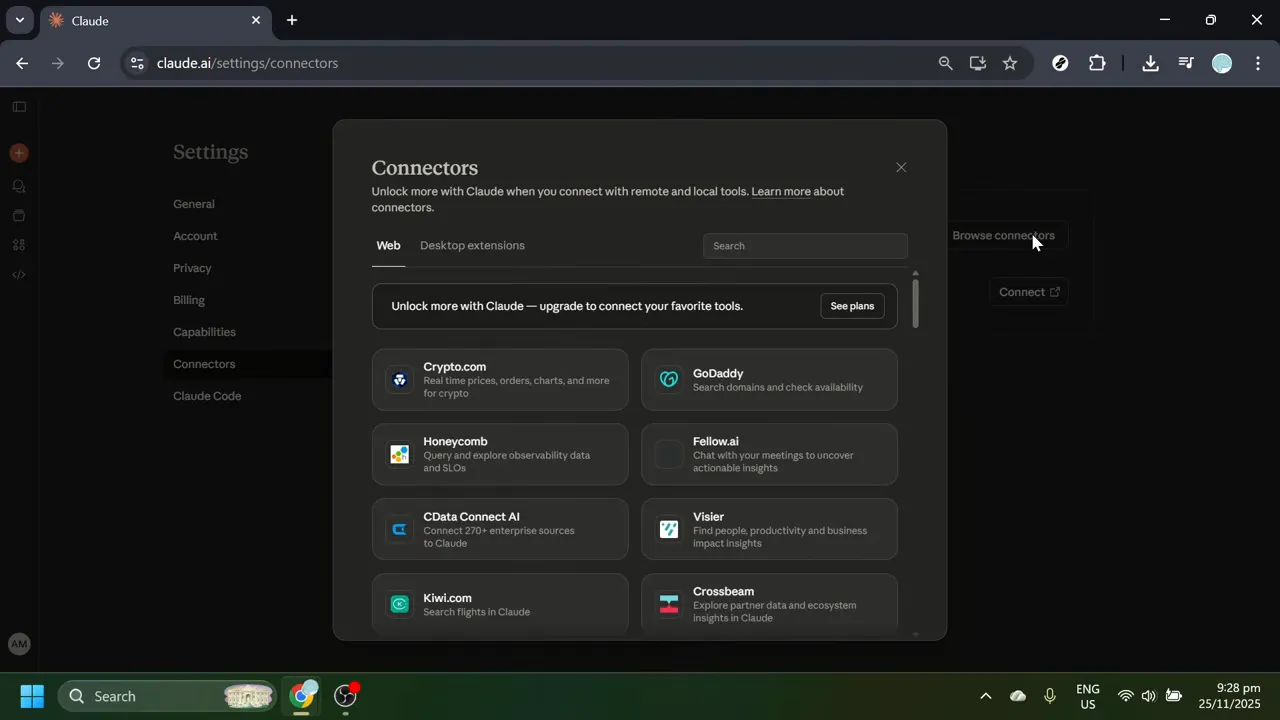
Browse Available Connector Integrations
The Browse Connectors interface displays a curated gallery of third-party services that Claude officially supports.
When the connectors gallery opens, you'll see various tools organized in a browsable format—productivity apps, design tools, documentation platforms, and other business software that enhance Claude's capabilities.
This search functionality is essential because the connector library continues to expand as Claude adds support for more third-party services.
The Browse Connectors interface displays a curated gallery of third-party services that Claude officially supports. Each integration meets Claude's security and functionality standards.
When the connectors gallery opens, you'll see various tools organized in a browsable format—productivity apps, design tools, documentation platforms, and other business software that enhance Claude's capabilities. At the top of the connectors page, you'll find a search field designed to quickly filter through available integrations.
This search functionality is essential because the connector library continues to expand as Claude adds support for more third-party services. Using search ensures you locate the Figma connector regardless of how the gallery is organized. This browsing process is covered from 1:20 to 1:27 in the video [1:20–1:27].
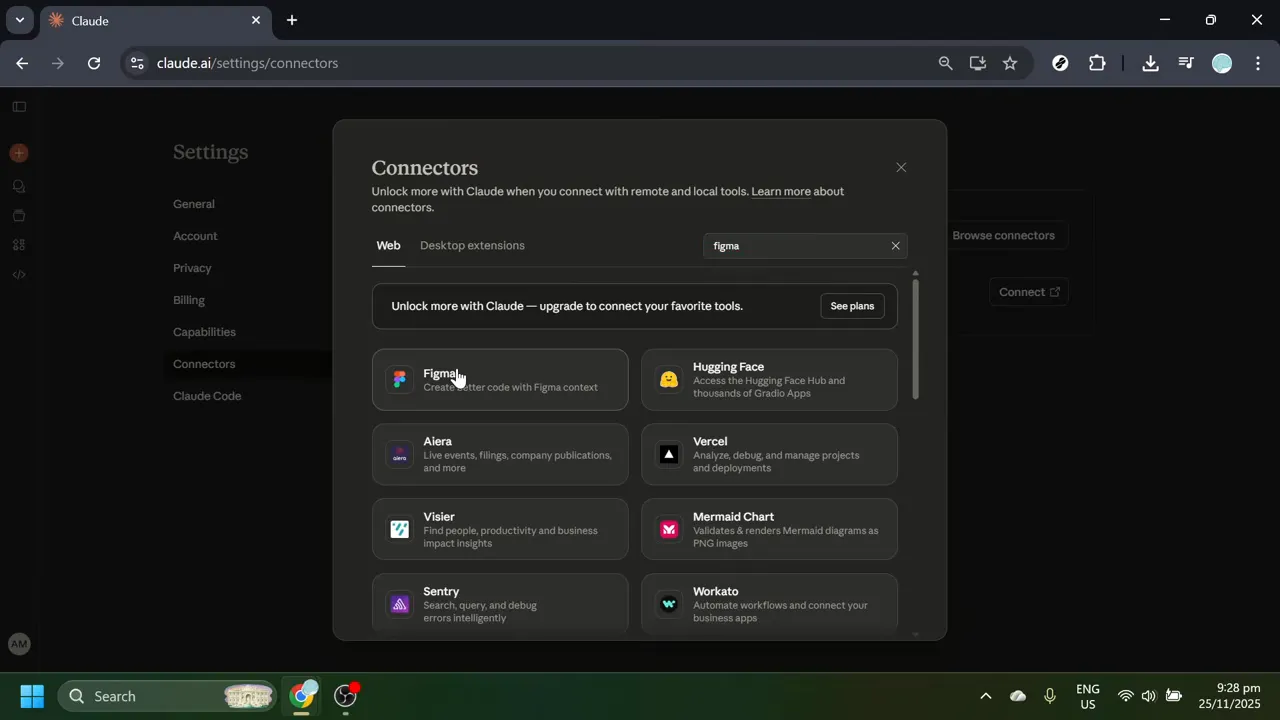
Search for the Figma Connector
With the connectors gallery open, click into the search field at the top of the connectors page.
When Figma appears in the filtered results, you'll see the official Figma connector card or listing with the Figma logo, a brief description of its capabilities, and a button to view more details or begin the connection process.
This selection action takes you to a comprehensive view of the integration where you can learn about its capabilities and begin setup.
With the connectors gallery open, click into the search field at the top of the connectors page. Type "Figma" into the search box. As you type, the gallery automatically filters to show only matching results, making the Figma connector immediately visible.
When Figma appears in the filtered results, you'll see the official Figma connector card or listing with the Figma logo, a brief description of its capabilities, and a button to view more details or begin the connection process. Click on the Figma connector result to open its dedicated details page.
This selection action takes you to a comprehensive view of the integration where you can learn about its capabilities and begin setup. This search and selection process is demonstrated between 1:27 and 1:41 in the video [1:27–1:41].
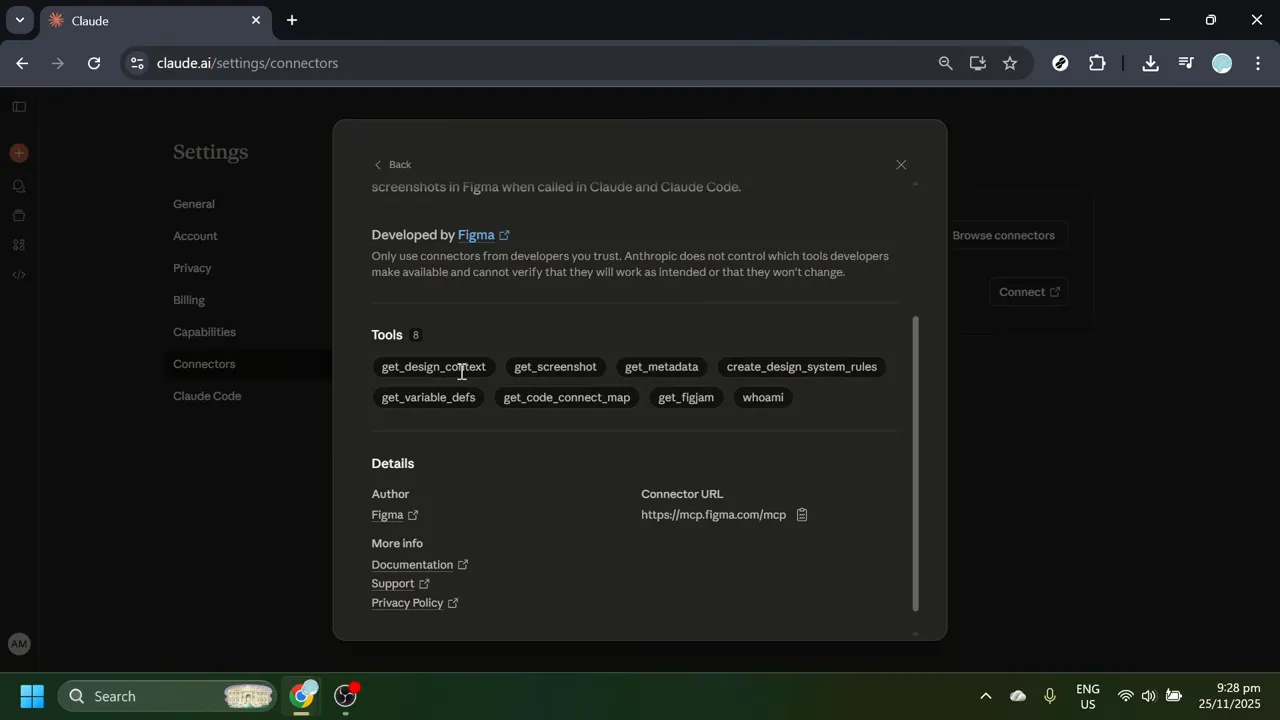
Review the Figma Connector Details
The Figma connector details page provides important information about how the integration functions and what it requires to operate.
You'll also see information about the permissions the connector requires.
Reviewing permissions is crucial for maintaining security and privacy in your design workflow.
The Figma connector details page provides important information about how the integration functions and what it requires to operate. On this page, you'll typically find a short overview describing what the Figma connector enables—such as accessing design files, reading project structures, viewing comments, or analyzing design elements.
You'll also see information about the permissions the connector requires. These permissions define what Claude can and cannot do with your Figma account and files. Common permissions might include read access to files, access to specific teams or projects, or the ability to view comments and annotations.
Reviewing permissions is crucial for maintaining security and privacy in your design workflow. Only proceed with the integration if you're comfortable with the access levels requested. This review process corresponds to the 1:41 to 1:53 portion of the video [1:41–1:53]. The details page helps you make an informed decision about whether to proceed with connecting Figma to Claude.
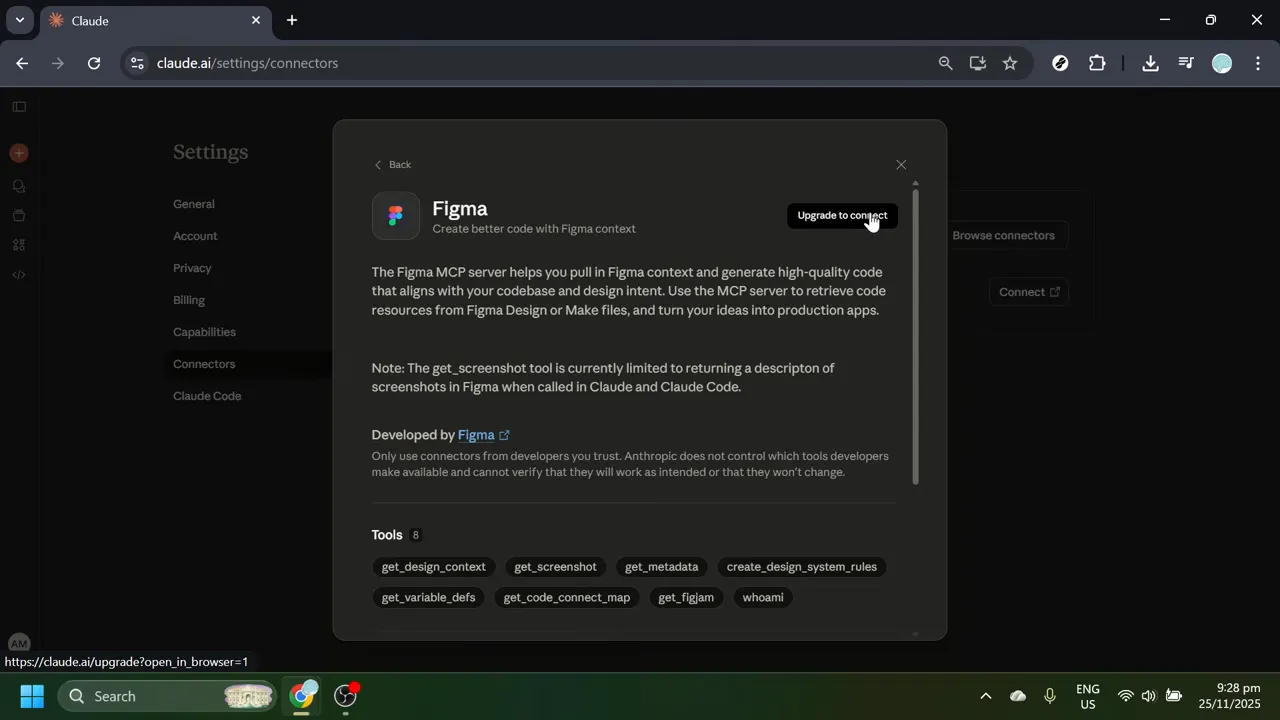
Understand Plan Requirements for Connectors
At this stage in the connection process, you'll encounter an important notice regarding plan requirements.
Third-party connectors are available only on Claude's paid subscription tiers—not on free accounts.
For users on team or organization accounts, check with your workspace administrator to confirm that connectors are enabled on your organization's plan.
At this stage in the connection process, you'll encounter an important notice regarding plan requirements. The Figma connector, like most third-party integrations in Claude, requires an upgraded account plan to function. You'll see a message indicating that connecting Figma requires a paid Claude plan.
Third-party connectors are available only on Claude's paid subscription tiers—not on free accounts. If you're using a personal Claude account with the free plan, upgrade to a paid subscription (typically Pro or Team plans) before proceeding with the Figma integration.
For users on team or organization accounts, check with your workspace administrator to confirm that connectors are enabled on your organization's plan. Some team configurations may have connectors disabled by policy. This plan requirement information is discussed between 1:56 and 2:18 in the video [1:56–2:18]. Verify your plan status before attempting to complete the integration, as the connector will not activate without the appropriate subscription level.
Prepare Your Figma Account Access
Before completing the connector setup, ensure you have the necessary Figma account access and credentials ready.
Verify that you have appropriate access to the Figma projects and files you want Claude to reference.
Understanding your Figma workspace structure helps you make informed decisions during the authorization process.
Before completing the connector setup, ensure you have the necessary Figma account access and credentials ready. Have your Figma login credentials readily available—your Figma email address and password, or access to your single sign-on (SSO) method if your organization uses one.
Verify that you have appropriate access to the Figma projects and files you want Claude to reference. The connector will only be able to access files that your Figma account has permission to view. Consider which Figma teams, projects, or files you want to make available to Claude through the connector—you may want to limit access to specific work-related projects for security or organizational reasons.
Understanding your Figma workspace structure helps you make informed decisions during the authorization process. This preparation step is covered between 2:20 and 2:28 in the video [2:20–2:28].
Complete the Connector Authorization Flow
Once your Claude plan is upgraded to a paid tier that supports connectors, you can proceed with the actual connection process.
You'll be guided through a series of onscreen prompts that facilitate the secure connection between Claude and Figma.
Only grant access that makes sense for your specific workflow and security requirements.
Once your Claude plan is upgraded to a paid tier that supports connectors, you can proceed with the actual connection process. When you're ready to connect, the Figma connector page will display a button or link labeled Connect, Authorize, or Link Account. Click this button to initiate the connection flow.
You'll be guided through a series of onscreen prompts that facilitate the secure connection between Claude and Figma. This process typically involves being redirected to Figma's website where you'll log in to your Figma account and authorize Claude to access specific resources. During the authorization process, pay careful attention to permission screens that detail exactly what access you're granting.
Only grant access that makes sense for your specific workflow and security requirements. If certain permissions seem overly broad for your needs, you may want to reconsider the integration or consult with your IT security team. This authorization process is discussed between 2:29 and 2:39 in the video [2:29–2:39]. The connection flow is designed to be secure and transparent, giving you full visibility into what access you're providing before finalizing the integration.
Manage and Review Connector Permissions
After completing the initial authorization, connector settings are not permanent and can be adjusted as your needs change.
Within the connector management interface, you'll find options to adjust permissions, temporarily disable connections, or completely remove integrations you no longer need.
Regularly reviewing your active connectors is a sound security practice.

After completing the initial authorization, connector settings are not permanent and can be adjusted as your needs change. Return to the Connectors section in your Claude Settings to review which services are currently connected. This overview screen shows all active integrations, making it easy to audit what external tools have access to your Claude workspace.
Within the connector management interface, you'll find options to adjust permissions, temporarily disable connections, or completely remove integrations you no longer need. If you need to modify what Figma resources Claude can access, revisit the Figma connector settings and adjust the authorization—this may be necessary if you've joined new Figma teams, want to restrict access to certain projects, or need to update permissions for security compliance reasons.
Regularly reviewing your active connectors is a sound security practice. It ensures you maintain awareness of which external services have access to your Claude account and can interact with your AI workspace. This management capability is mentioned between 2:42 and 2:47 in the video [2:42–2:47].
Verify Your Figma-Claude Integration
Once you've completed the authorization flow and the connector is active, verify that the integration is working correctly.
If Claude successfully accesses your Figma content, you'll know the connector is functioning as intended.
If it shows as disconnected, you may need to re-authorize the integration.

Once you've completed the authorization flow and the connector is active, verify that the integration is working correctly. Return to the main Claude chat interface and try referencing a Figma file you have access to. Ask Claude to "analyze the design in [Figma file name]" or "review the components in [Figma project]." If the integration is working properly, Claude should be able to access and discuss the referenced design files.
If Claude successfully accesses your Figma content, you'll know the connector is functioning as intended. The AI should be able to view design elements, read file structures, and provide feedback based on your Figma designs. If you encounter any issues with Claude accessing Figma files, return to the Connectors section in Settings to verify the connection status. The connector should show as "Connected" or "Active."
If it shows as disconnected, you may need to re-authorize the integration. This verification step ensures that your setup was successful and that you can begin using Claude and Figma together in your design workflow. The complete integration path is summarized between 2:48 and 3:07 in the video [2:48–3:07].
Utilize the Figma-Claude Integration in Your Workflow
With the connection successfully established, you can now use Claude's AI capabilities to enhance your Figma design process.
The integration also facilitates design documentation by allowing Claude to analyze Figma files and generate descriptions, component inventories, or design system documentation.
The Figma-Claude integration represents a significant enhancement to modern design workflows, bringing AI-assisted analysis and documentation directly into your design process.
With the connection successfully established, you can now use Claude's AI capabilities to enhance your Figma design process. Ask Claude to review design files and provide feedback on layout, component structure, design consistency, and accessibility considerations. This automated review capability helps catch potential issues early in the design process.
The integration also facilitates design documentation by allowing Claude to analyze Figma files and generate descriptions, component inventories, or design system documentation. Discuss design alternatives with Claude while the AI has direct access to your current Figma files. This context-aware conversation helps generate more relevant suggestions and improvements based on your actual designs.
The Figma-Claude integration represents a significant enhancement to modern design workflows, bringing AI-assisted analysis and documentation directly into your design process. The video concludes with this overview between 3:05 and 3:09 in the video [3:05–3:09].
Copy-paste prompts that work
Each prompt has been tested and optimized for this workflow. Customize the bracketed sections.
Analyze the design in [Figma file name]. Provide feedback on layout, component structure, design consistency, and accessibility considerations.
Review the components in [Figma project]. Generate a component inventory and design system documentation.
Compare these two design variations in [Figma file]. Which approach better solves the user problem and why?
Check [Figma file name] for accessibility issues. Are there any color contrast problems, missing alt text areas, or layout concerns for users with disabilities?
Summarize the user flows and interaction patterns shown in [Figma project]. What are the main navigation paths?
Generate copy suggestions for the UI elements in [Figma file]. Ensure consistency with brand voice and clarity for users.
Identify design inconsistencies between [Figma file 1] and [Figma file 2]. Where do components, spacing, or styles differ?
Based on the mobile design in [Figma file], what responsive design adjustments would be needed for tablet and desktop breakpoints?
Claude Technical Specifications
| Free Tier | ✓ Yes |
| Api Access | ✓ Yes |
| Mobile App | ✓ Yes |
| Voice Mode | ✓ Yes |
| Web Search | ✓ Yes |
| File Upload | ✓ Yes |
| Code Execution | ✓ Yes |
| Context Window | Up to ~1M tokens (model-dependent) |
| Image Generation | None |
| Plugins Extensions | ✓ Yes |
| Context Window Desc | Supports very long documents, codebases, and project histories in a single session. |
Common issues
Go further
This matters when you need to maintain clear boundaries between different clients or business units, ensuring Claude only references relevant design files for each conversation context.
This is particularly important for consultants or contractors who may have accumulated access to many client projects over time but only need Claude to reference current, active work.
This helps identify potential permission issues early, especially in enterprise environments where IT policies may create unexpected access boundaries that weren't apparent during the initial connector setup.
More tutorials
Works well with this
The primary design tool being connected; users need to understand Figma's workspace structure and permissions to maximize the integration.
Complementary workflow tool for design documentation; teams often capture design system documentation and specifications in Notion alongside Claude analysis.
Common team communication platform; design review feedback from Claude can be shared with team members through Slack integration workflows.
This tutorial was created by Joshua Kishaba and produced using AI-assisted editorial tools. All recommendations reflect genuine editorial opinion based on hands-on testing. This page may contain affiliate links — see our full disclosure.